Custom Search

Monday, September 19, 2016

Fall Dishtowel Tutorial

IMG_6971
Making a decorative dish towel is really easy and a great way to decorate your kitchen on a budget.  A decorative dish towel makes a wonderful gift and is easy to customize.  Try one with pom poms instead of rick rack or use an owl, bird or fruit template for the design.  You can even make the perfect dish towel for any holiday.
Here’s what you need for this project:
  • 1/2 yard of 54″ wide home weight fabric (makes two towels)
  • 1/8 of a yard decorative fabric for bottom strip
  • 1 yard of rick rack
  • small amount of fabric for squirrel design (I used scraps, of course)
Here’s how to make a decorative dish towel:
1.  Cut your main fabric 26″ x 17″.  Cut 2 fabric strips for decorative bottom border 4 1/2″ x 17″, one will be the front and the other the back (The depth of this piece can be adjusted depending on your fabric and what looks good.)  Cut rick rack in half, into two pieces 18″ inch pieces.
IMG_6914
2.  Pin the rick rack along the top and bottom of the right side of a fabric strip.
IMG_6920
3.  Stitch down the middle of the rick rack. (I always err toward the outer edge.)
IMG_6922
4.  With right sides together, pin the strip to the bottom edge of the main fabric.  Make sure the edges of the fabric are lined up.
IMG_6923
5.  Stitch over the previous seam.
IMG_6924
6.  Press the top rick rack toward the main fabric.
IMG_6925
7.  Pin the back of bottom strip to the front, right sides together, making sure to line up the edges of the fabric.  (Make sure to pin securely, and don’t leave your pins in the path of the machine, as they are underneath as you stitch.)  Turn over and stitch along the previous seam.
IMG_6927
Your dish towel should look like this now.
IMG_6929
8.  Fold the back strip to the back and press the rick rack into place.
IMG_6932
9.  Turn your towel over and press a hem along the top of the back piece.  Make sure to press the hem slightly above the seam beneath.  Pin into place.
IMG_6934
10.  Turn back to right side of dish towel and stitch in the seam between bottom piece and rick rack)  This should have stitched the back piece into place.  The back will now have a nice finished look, with no raw edges.  Trim sides of dish towel to even up your edges.
IMG_6946
11.  Now turn your dish towel over and press a 1/4 inch hem up one side of the dish towel.
IMG_6948
12.  When you get to the top edge.  Press the corner in like a triangle.  Continue pressing along the top edge, and press the next corner in like a triangle.  Now continue pressing down the other side.
IMG_6951
13.  Turn your hem a second time, and press a 1/2″ hem, making a mitered corner.  I have another tutorial showing the same process, which may be easier if you are sewing a mitered corner for the first time.
IMG_6952
14.  Trim the point of the corner, so it isn’t sticking out.
15.  Pin hem and stitch into place.  Remember your stitching will show from the front of the dish towel, so try to keep it even from the edge of the towel.
IMG_6875
16. Now trace your design to the smooth side of Heat ‘n Bond Light or Wonder Under.  I used the wonderful squirrel template from the Long Thread. You may recognize it as the same squirrel on Lily’s school bag.  Remember that your design will be reversed on your towel.
17.  Carefully cut out your design.
IMG_6961
18.  Peel the backing from your design and center on your towel.  I love to place my ruler over the piece to make sure I have it centered.  Using a iron, heat set your design to the towel.
IMG_6967
19.  Choosing a decorative stitch, stitch around your design.  I used a small, tight zigzag for this project.  I have also used a blanket stitch on other projects.
As you can see there are many creative variations to this project.  You can embroider, machine or hand applique, use a fabric with a picture that you cut out.  You really can use your imagination.
Happy sewing!

craft resource here

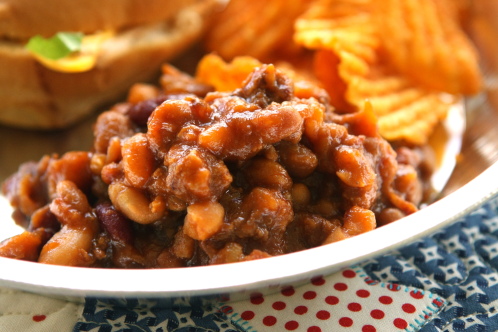
Cowboy Beans

COWBOY BEANS


1 lg. can pork n beans
1 can lima beans, drained
1 can kidney beans
1 can chili beans
1 can butter beans, drained
1/2 to 1 lb. bacon, cut up
1 c. ketchup
3/4 c. molasses
3/4 c. brown sugar
1/2 onion, chopped

Fry bacon crisp; add onion and cook. Add ketchup, molasses and brown sugar and cook for a few minutes. Add all kinds of beans. Put in a 3-quart covered casseroledish. Bake at 350 degrees for 1 hour.

Nestle Chocolate Chip Cookie Dough

Nestle Toll House Chocolate Chip Cookie Dough
from Very Best Baking

2 1/4 c all-purpose flour
1 tsp baking soda
1 tsp salt 
1 c butter, softened (normal, not 90°F, room temperature) 
3/4 c granulated sugar 
3/4 c packed brown sugar 
1 tsp vanilla extract 
2 large eggs (normal, not 90°F, room temperature) 
2 c NESTLÉ® TOLL HOUSE® Semi-Sweet Chocolate Morsels 
1 c chopped nuts 

Preheat oven to 375° F. 
Combine flour, baking soda and salt in small bowl.
Beat butter, granulated sugar, brown sugar and vanilla extract in large mixer bowl until creamy.
Add eggs, one at a time, beating well after each addition.
Gradually beat in flour mixture.
Stir in morsels and nuts.
 

Drop by rounded tablespoon onto ungreased baking sheets.  
 
These are actually 1.5 tbsp balls.

Bake for 9 to 11 minutes or until golden brown. 
 
I do 10 minutes and 30 seconds. The cookies will be puffed up a little bit.

Cool on baking sheets for 2 minutes; remove to wire racks to cool completely.
  
The puffiness settles as the cookies cool; the bottoms of the cookies "set". Transfer them too early to the wire rack and the bottoms will be soft allowing them to settle between the wires, preventing flat bottoms.

While the first batch cools for two minutes on their baking sheets, I prep some more dough balls. This time I used my small, 1 tbsp, baller. I'm sure this is the size Nestle thinks of when they say you'll get 60 cookies. Either way, they turn out very well.
  

Cost: 

  • all-purpose flour: $0.30
  • butter: $1.02
  • granulated sugar: $0.16
  • brown sugar: $0.39
  • vanilla extract: $0.08
  • eggs: $0.90
  • chocolate chips: $1.92
  • nuts: $1.40
Total: $6.17. That makes each of 60 cookies about $0.10 each.

Sunday, September 18, 2016

Pasta Casserole

Seven-Layer Rigitoni Casserole

You and your family will enjoy pure “comfort in every bite” with this hearty and delicious recipe.
3 cups uncooked rigatoni pasta
1 pound bulk Italian sausage
1 (28 ounces) can crushed tomatoes, undrained
3 garlic cloves, finely chopped
1 tablespoon dried basil leaves
3 cups sliced fresh mushrooms
1 (7 ounce) jar roasted red bell peppers, drained and chopped
1 cup shredded Parmesan cheese
2-1/2 cups shredded mozzarella cheese
1. Heat the oven to 375 degrees F. Spray a 13×9-inch baking dish with nonstick cooking spray. Cook the pasta according to the package directions using minimum cook time; drain.
2. In a 10-inch skillet over medium heat, cook sausage, stirring occasionally, until no longer pink; drain. In a small bowl, combine the tomatoes, garlic and basil.
3. Layer 1/2 each of the pasta, sausage, mushrooms, bell peppers, Parmesan cheese, tomato mixture and mozzarella cheese; repeat layers.
4. Bake for 35 to 40 minutes or until hot and cheese is golden brown. Makes 8 servings

Saturday 9

From Saturday 9 website
 committed to our readers is that we will post 9 questions every Saturday. Sometimes the post will have a theme, and at other times the questions will be totally unrelated. Those weeks we do "random questions," so-to-speak. We encourage you to visit other participants posts and leave a comment. Because we don't have any rules, it is your choice. We hate rules. We love memes, however, and here is today's meme!

Saturday 9: September in the Rain (1956)

Unfamiliar with this week's tune? Hear it here.

1) This song refers to "leaves of brown." Can you see any leaves outside your window? What color are they?

leaves here are still green, they have not started to change as of yet

2) It also mentions whispered words of love. What did you say last time you lowered your voice?

most likely at work or when one of the grands were asleep

3) Clearly this song is about a treasured romantic memory that took place in autumn. Think about your favorite romantic memory. In what season did it take place?

My children love to get married in spring and summer and those were awesome moments but I would say winter was the one that meant the most to me

4) This week's featured artist, Julie London, was famous as a singer and actress. Less prominent in her bio is her appearance as a "pin up girl" in Esquire magazine when she was just 17. What's in your resume that you'd prefer to de-emphasize or gloss over?

that is why it is hidden away, as I dont want many to know. There are a few facts that I dont mind sharing like I was a teen age mother , I graduated from high school with 2 children in the crowd and the story continues


5) Julie recorded more than 30 albums and was named "most popular female vocalist" by Billboard magazine in 1956. If you could see any entertainer -- male or female -- in concert, who would you choose?

I nearly had a chance but did not get to yet meet Hank Williams Jr.

6) She became well-known to another generation when she appeared in the 1970s TV show Emergency! The younger actors credited her for keeping everything calm on the set. Who has a calming influence on you?

my husband and me take turns getting excited it seems. That is why we complete each other because we can keep each other calmed

7) Her Emergency! costar was her husband, Bobby Troup, and the show was produced by her ex-husband, Jack Webb. Do you have an ex that you're on very good terms with?

I did not have many boyfriends but the two I remember dating a few times are still friends of mine

8) Julie was a chain-smoker since she was a teenager and in the 1950s recorded a jingle for Marlboro cigarettes. Yet in the 1970s, when she saw Bobby Troup's health negatively effected by smoking, she pressed him to quit. Tell us about a time you found yourself in a "do as I say, not as I do" situation.

There are many times as a parent that I have used this scenario

9) Random question: You have won an all-expenses paid trip to an exclusive resort in the Hawaii. When you get there, you discover that the private beach is bathing suit optional. Do you swim nude?

alone with no one around yes, other wise no

Groupon Coupons Makes Saving Money Easier

This is a sponsored post.  While it is a sponsored post as always the opinions shared with in are all mine. 


If you are like me then you love to save money when ever and where ever possible. One way to find great deals is by using Groupon Coupons If you are looking to stock up on sale items, getting a discount, or simply saving a bit of money Groupon Coupons can help. I, myself, have used coupons for many years but have friends that are just starting to use coupons. They love saving money as much as I do and they love saving money on items they use everyday. Groupon coupons is the place you want to check before heading out on your next shopping trip. 

Not only can you save on your next shopping trip but also on events and great experiences as well. Groupon offers a coupon resource that allows you to find coupons that are verified through many favorite retailers. That means they will work no more wasting time on coupons that you can not use. Groupon coupons are great when going out to dine, traveling or local attractions as well as many other things of interest. 


Many of us have little to no time to search for coupons on many different websites groupon makes it easy to find just what we need so we save money. With a simple click of a button we have been a bit thriftier and there are membership or other fees. Groupon is totally FREE!!! 

Groupon offers Coupons for great deals at many places including 


  • BabiesRUs
  • Sam’s Club
  • Kohl’s
  • Travelocity
  • Orbitz
  • Best Buy
  • Target
  • Office Depot
  • JC Penny
  • Adidas
  • Footlocker

Check out all the great ebay coupons that are available from groupon coupon. 

WIth all this power in my hands I am on my way to saving great money. All these coupons at Groupon plus the ability to search for coupons to use where I live and stores that I will be shopping at. Groupon also offers coupons you will only find on Groupon Coupons. 

Head on over to Groupon Coupons and see the great many ways you can save money. I am sure that you will love all the possible savings as well. 

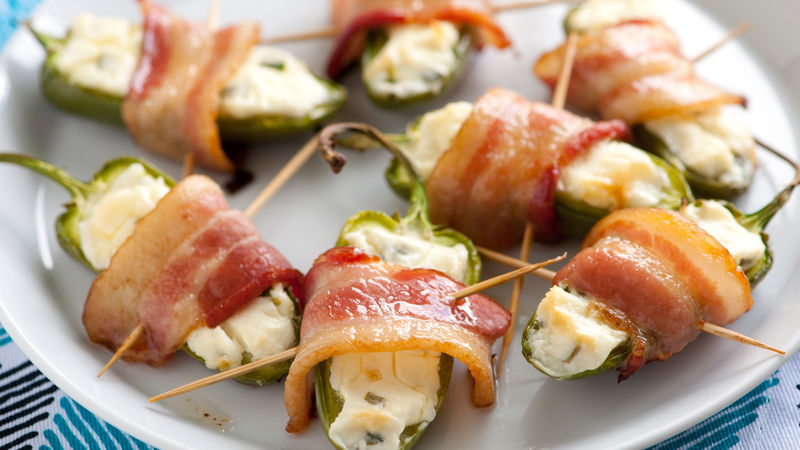
Football Snack Food: Bacon Wrapped Stuffed Jalapenos

Football season hit our house a few weeks ago and the mania is running wild. Not only football but October baseball is on its way as well. I love sports and so does my family. We also love to snack. One of our favorite snacks is bacon wrapped stuffed jalapenos. 

These little snacks are known as stuffed jalapeno peppers but they are more as they are also wrapped in bacon. They make a perfect entree for lunch or dinner or eat alone and enjoy as a snack


Jalapenos (10-15)
1 package Cream Cheese, softened
1 package Bacon (I use turkey bacon)

Jalapeno peppers can be extremely hot and can burn those with sensitive skin.  So it is advised to wear gloves when working with the peppers. First rinse and pat dry the peppers. 


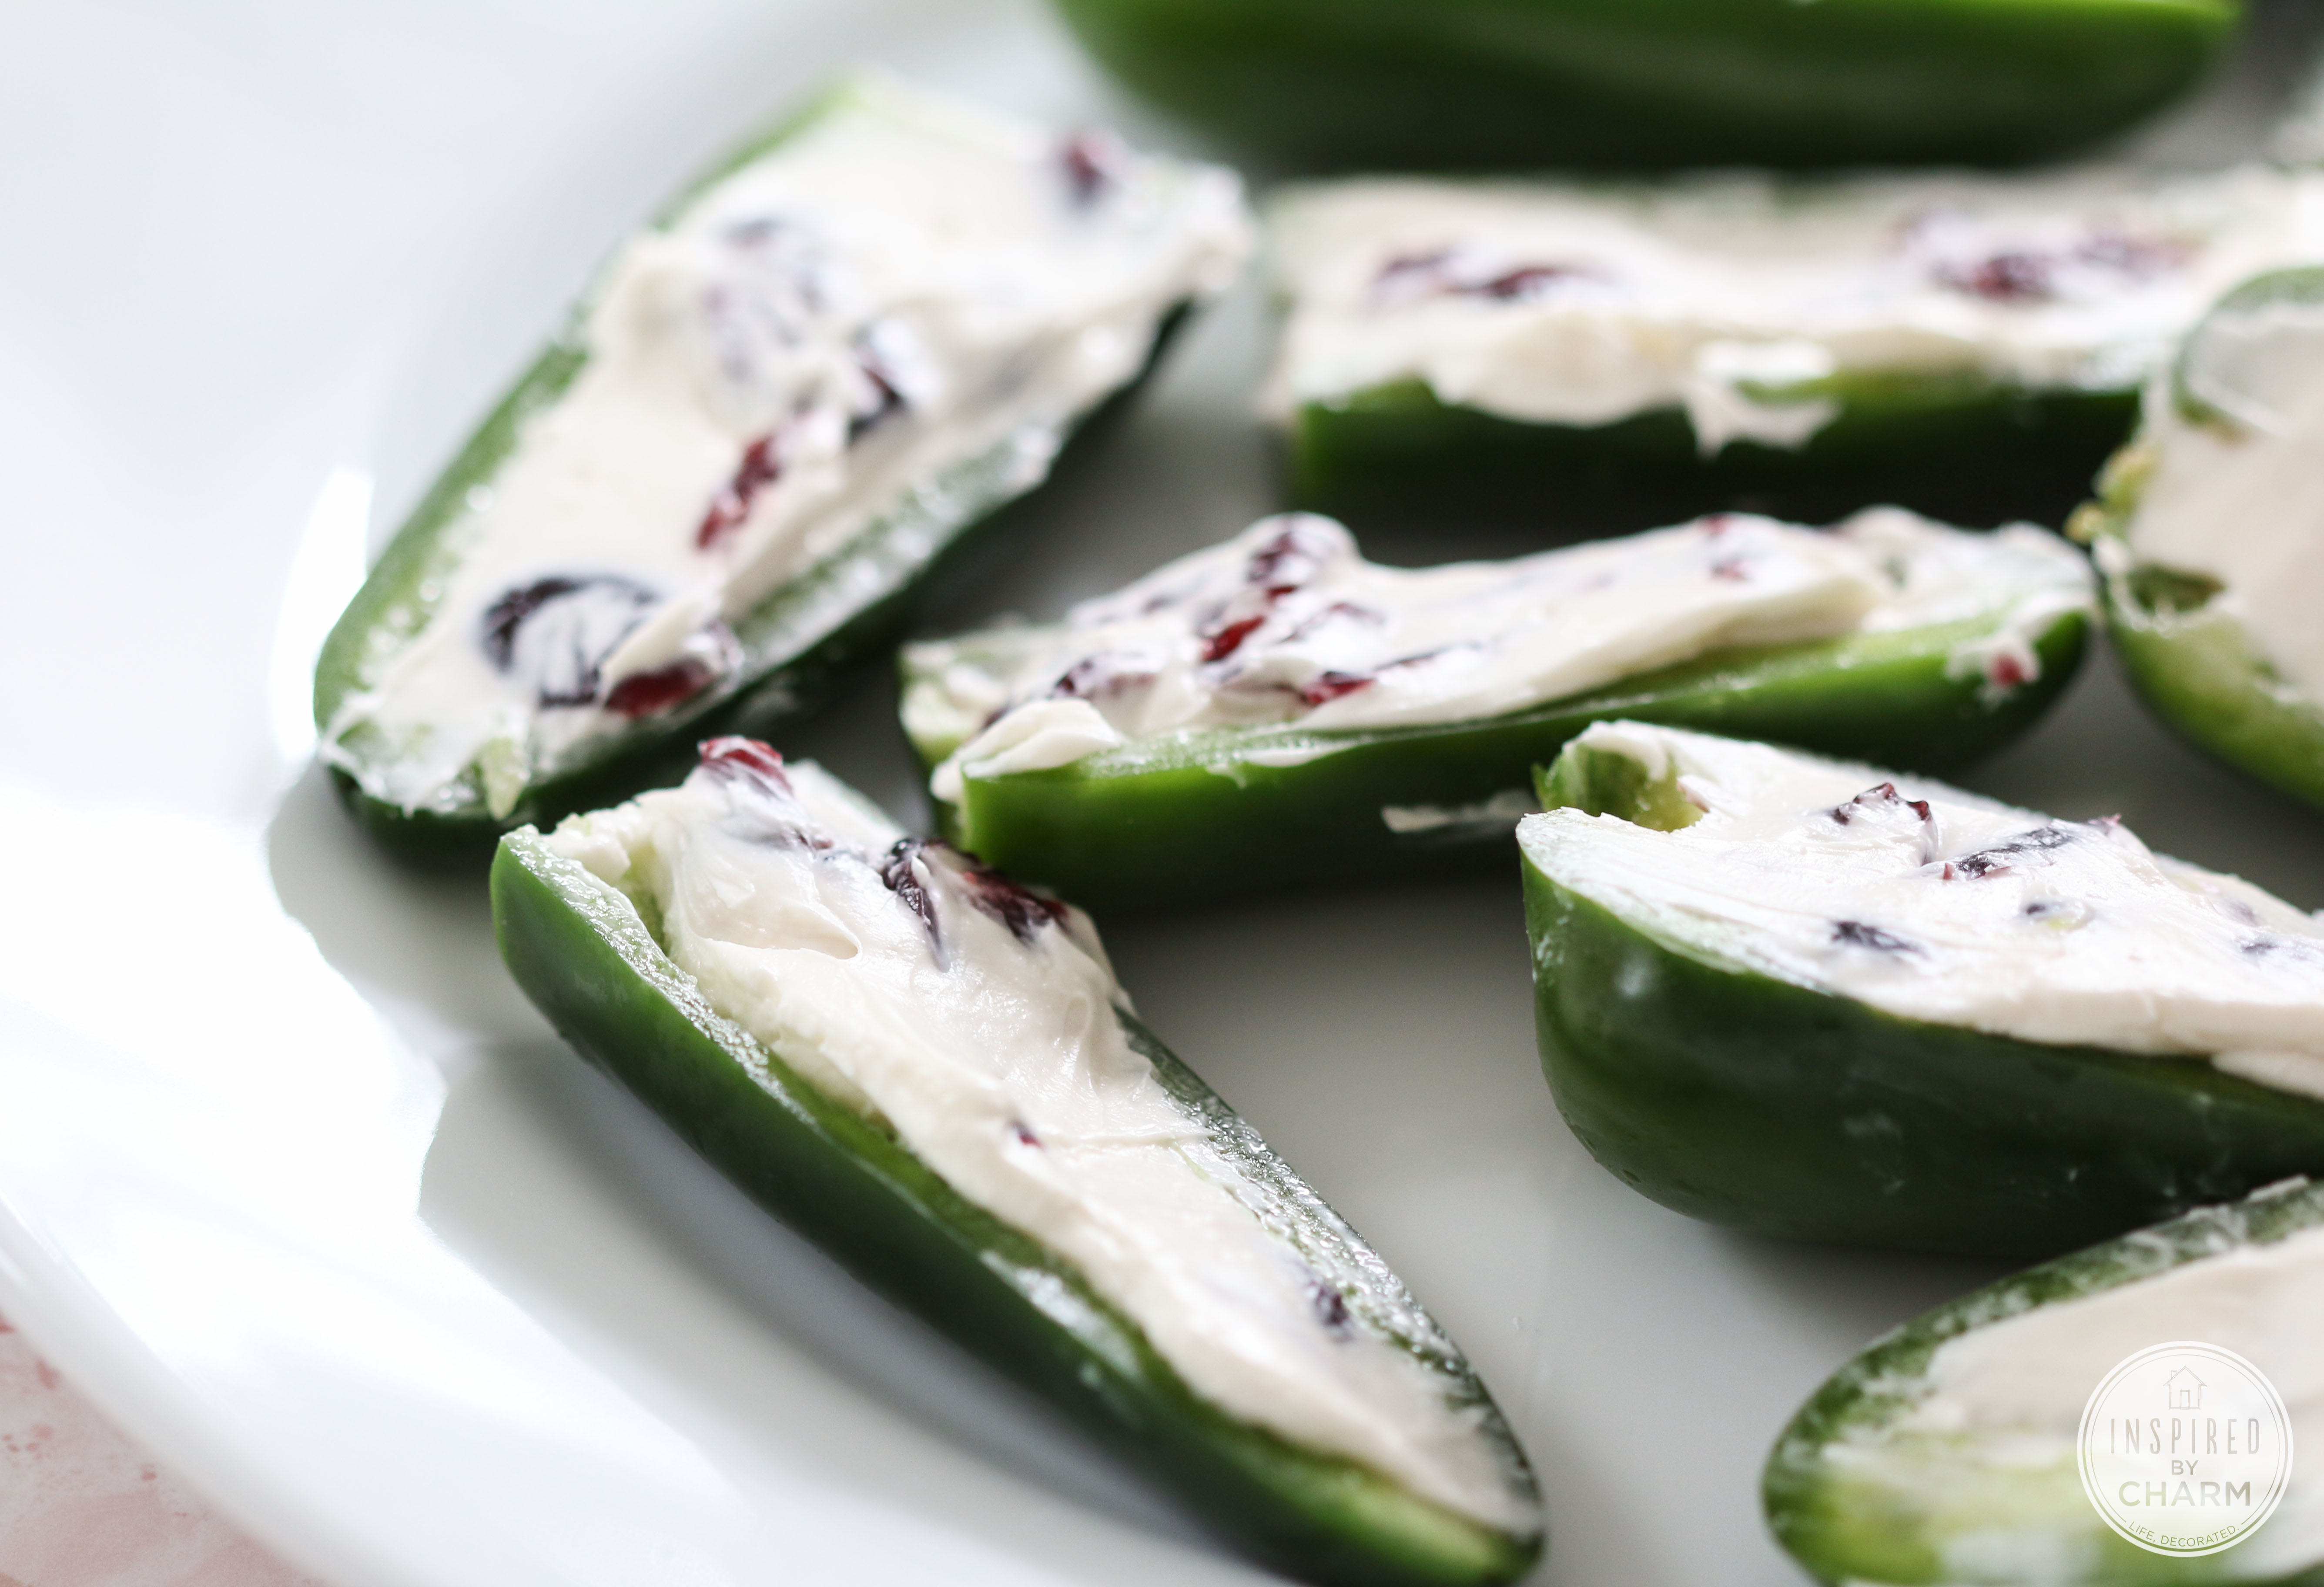
Fill the peppers with softened cream cheese. 


Fill or stuff the peppers with cream cheese. Fill as much as you like I like ours filled full using it all but making sure each pepper is filled. 


Wrap bacon around the jalapeno half stuffed with cream cheese. This can be done 2 ways using toothpicks or with end of bacon between pepper and the pan. 

Bake at 375 degrees for 20-30 minutes or until bacon is cooked to how you like it.  Let cool 3-5 minutes before serving.  We like to have them with sour cream.

Enjoy!! What is your favorite football snack?? 

Time To Fill Cookie Jar : Peanut Butter Chocolate Chip Cookie Bars

Peanut Butter Chocolate Chip Cookie Bars

Peanut Butter Chocolate Chip Cookie Bars 

I made these just the other day and they turned out really good.  Soft and chewy - peanut buttery and chocolaty. : ) 

1/2 cup butter, softened
1/2 cup peanut butter
1 1/2 cup sugar
eggs
1 1/2 tablespoons brown rice syrup 
2 tablespoons water
2 teaspoons vanilla extract
2 1/2 cups all-purpose flour
1 teaspoon baking soda
1/2 teaspoon salt
2 cups semisweet chocolate chips

1. Preheat oven to 375 degrees F.
2. In a large bowl, cream together the butter, peanut butter, brown sugar, and white sugar until smooth. Beat in the eggs one at a time, then stir in the corn syrup, water, and vanilla. Combine the flour, baking soda, and salt; stir into the peanut butter mixture. Fold in chocolate chips. Spread cookie dough evenly in a 9x13" baking dish.  (For cookie variation - Drop by 1/4 cupfuls 3 inches apart onto ungreased baking sheets.)
3. Bake for 20 minutes or until lightly browned and when no longer gooey in the middle.  Cool before cutting.  (For cookie variation - Bake for 12 to 14 minutes in the preheated oven, or until edges are golden. Allow cookies to cool for 1 minute on the cookie sheet before removing to wire racks to cool completely.)

Enjoy! - Let me know if you try them & if you like them! :)

Coca Cola Cake yummy and chocolate

Coca Cola Cake


  • 2 cups sugar
  • 2 cups flour
  • 1 1/2 cups chopped minature marshmallows
  • 1/2 cup shortening
  • 1/2 cup butter
  • 3 Tablespoons cocoa
  • 1 cup Coke
  • 1/2 cup buttermilk
  • 1 teaspoon baking soda
  • 2 eggs
Sift together flour, sugar. Stir in marshmallows and set aside. Bring to boil the shortening, butter, cocoa, and Coke. Remove from heat and pour over dry ingredients. Stir in buttermilk, baking soda, and eggs. Pour in greased tube pan and bake at 350 degrees for 45 minutes.
Icing
  • 1/2 cup butter
  • 3 Tablespoons cocoa
  • 6 Tablespoons Coke
  • 1 pound box powdered sugar
  • 1 cup chopped pecans
Bring to boil the butter, cocoa, and Coke. When smooth, remove from heat and add sugar and pecans. Pour over cake.

Hearty Chicken Pot Pie It's Whats For Dinner

Hearty Chicken Pot Pie


For a simple variation of this American classic, you can substitute ham, turkey or steak for the chicken in this recipe.
1 can (10-3/4ounces) condensed chicken broth
1-1/3 cups water, divided
4 medium carrots, thinly sliced (about 1-1/2 cups)
3 medium red potatoes, scrubbed and diced (about 1-1/2 cups)
2 tablespoons olive oil
2 cups quartered medium mushrooms (about 8 ounces)
1 medium onion, coarsely chopped
1 cup frozen peas
1/3 cup all-purpose flour
1 (15-ounce) package refrigerated pie crusts
2-1/2 cups chopped cooked chicken
1. Combine broth, 1 cup water, carrots and potatoes in a medium saucepan. Bring to a boil over medium-high heat. Reduce heat and simmer until tender, about 10 minutes.
2. Preheat oven to 425 degrees F. Heat the oil in a large nonstick skillet over medium heat. Add the mushrooms and onion. Cook, stirring occasionally, until the vegetables are softened. Stir in the broth mixture and peas. Increase heat to medium-high and bring to a boil. Whisk the remaining water into the flour mixture. Boil, stirring frequently, until thickened. Remove from heat.
3. Unroll 1 pie crust onto a floured surface. Measure and roll, if necessary, to fit 1-inch larger than top of a shallow 2-quart baking dish. Line the baking dish with the crust.
4. Stir the chicken into the vegetable mixture and pour into the baking dish. Place the remaining crust over the filling; trim and flute edge. Cut a scalloped round from the center with a cookie cutter. Bake until filling is bubbly and crust is browned, about 20 minutes. Makes 6 servings.
* Freezer Friendly: Make and freeze an extra pie. Cool assembled, unbaked pie at room temperature 1 hour. Wrap well in foil; freeze up to 1 month. To bake frozen pie, remove foil and bake in a 425 degrees F. oven for 70 minutes or until golden brown and internal temperature reaches 160 degrees F.

Zucchini Olive Bread

I love zucchini bread and this one is just a bit different. This bread, while loaded with zucchini, also calls for olives and cheese. It's going to be wildly different from the loaves I'm accustomed to. According to the recipe description this bread can be served as an appetizer, a side at brunch, or as an accompaniment to a main course. I'm thinking it might be good for breakfasts.

Zucchini-Olive Bread
click to print

2 1/4 c all-purpose flour
1/2 c (2 oz.) freshly shredded Parmesan cheese
1 tbsp baking powder
1 tbsp sugar
1/2 tsp salt
1/4 tsp freshly ground pepper
3 eggs
1/3 c olive oil
1/4 c milk
2 c shredded zucchini (about 2 medium)
1/2 c coarsely chopped pitted Kalamata olives
2 tbsp minced onion

Heat oven to 350°F. Spray 8 1/2x4 1/2-inch loaf pan with nonstick cooking spray.

In medium bowl, stir together flour, cheese, baking powder, sugar, salt and pepper until well-combined.
  

In large bowl, whisk together eggs, oil and milk until blended.
  

Stir in zucchini, olives and onion.
  

Stir flour mixture into zucchini mixture just until flour mixture is incorporated (batter will be very stiff).
  

Spoon into pan; pat smooth with fingertips moistened with water.
  

Bake 55 to 60 minutes or until toothpick inserted in center comes out clean.
 

Cool in pan on wire rack 10 minutes; remove from pan.
 

Cool completely on wire rack, about 2 hours.


I'm not sure what to make of this. It was okay but not fantastic. While "moist" to the touch, it is a fairly dry bread, leaving me very thirsty. Or maybe it's the subtle salt working to dry my tongue. I say subtle because I really thought the olives and parmesan would offer much more of a salty pizzazz. 

The bread is quite eggy; I'm not certain that three is necessary but do wonder what would happen with the density if a third was omitted. The zucchini, very prettily green and evenly distributed doesn't offer much more than color. The bread reminds me of spoonbread, just drier. Done at the minimum baking time, 55 minutes, I think I should have checked it sooner!

Time to execute the recipe was an hour-and-a-half, but cooling time isn't considered in the label.

Cost: 

  • all-purpose flour: $0.18
  • Parmesan cheese: $1.08
  • sugar: $0.03
  • eggs: $0.91
  • olive oil: $0.32
  • milk: $0.09
  • zucchini: $1.04
  • Kalamata olives: $1.15
  • onion: $0.05
Total: $4.85 or about $0.40 for each of 12 servings.