Custom Search

Friday, June 30, 2017

Good Old Recipe Box


It seems ages ago now but as a young wife and mother I collected recipes in a system such as this, my mother and grandmother before me did as well. Now many collect recipes and keep them on a social site such as pinterest or google+ but years ago it was pen and paper and a recipe box.

Newspaper clippings may have found their way into the recipe box collection as well.


what would you have saved on your recipe card?? Nows Your chance


The Lost Art of Scratch Cooking


The market is full of pre prepared options. This makes it easier for many to purchase and eat. Cooking from scratch seems like it was a yesterday fad but for many it is still a way to get the entire family in the kitchen. Cooking from scratch means a whole new way of shopping and possibly, the need to learn how to cook all over again. Don't worry cooking from scratch can also be easy. 


A few tips that will help you are:

  • menu planning
  • do the prep ahead of time
  • make double amounts and freeze 1/2 
  • clean as you go
By following the few tips I share you will be prepared and know what you will be preparing. Go ahead have a family meeting and come up with a menu plan your entire family will love. One great thing I love to do is when I know what we plan to cook because of the menu plan I know what can  be prepared ahead of time and prepare the veggies. Make up double the batch that your family will eat then when you find your self without time to cook you can pull your meal out of the freezer.  Cleaning as you go means that you will not have a large mess when the cooking is done. 


Did You Know :::: Cast Iron Cooking

Cast Iron Cooking: Difficult to Maintain or Not???? 


If cast iron is not taken care of it has a chance of rusting, chipping, or cracking easily. Right??? Cast Iron requires lots of care and a bit of pampering. Right??? Using it, cleaning it and storing it all steps that require care. 


The truth is that cast iron is tough as nails. It seems to last a long time, for instance that 50 year old piece of cast iron your family has. You can find cast iron pieces at yard sales and antique shops as well. It is difficult to mess up cast iron where it is no longer usable. 


Many new cast iron cookware pieces come pre seasoned. This makes it easier to start cooking directly after purchase. Seasoning should remain in a thin even layer. This makes storing it nested together with other pieces without fear of seasoning breaking off. 


Wednesday, June 28, 2017

Tapioca Trifle with Chocolate Pudding


Coconut Tapioca Pudding:
1/3 cup small pearl tapioca
3/4 cup water
1 cup coconut milk
1 1/2 cups milk
1/4 teaspoon salt
1/2 cup sugar, divided
2 eggs, separated
1 teaspoon vanilla extract
1/3 cup shredded coconut

Chocolate Pudding:
2 cups milk
1/2 cup sugar
1/3 cup cocoa powder
3 egg yolks
4 teaspoons cornstarch
2 teaspoons vanilla extract
1/4 teaspoon salt
Chocolate for garnish


For Chocolate Pudding:
1) Combine 1 1/2 cups milk, sugar, and cocoa powder in a medium saucepan over medium-low heat. Whisk and bring to a slight simmer.
2) In a medium bowl, whisk together 1/2 cup milk, corn starch, egg yolks, vanilla, and a pinch of salt.
3) Slowly whisk in about 1 cup of the hot liquid mixture into the egg yolk mixture in a steady stream. Then whisk the hot, tempered egg mixture back into the saucepan with the rest of the milk mixture. Return to low heat.
4) Heat the pudding over low heat, stirring regularly, scraping the bottom to ensure it isn’t sticking. Continue to heat until the mixture is thick, 3-4 minutes.
5) Remove from heat and let cool until room temperature, whisking occasionally to prevent a skin from forming. Layer into jars or chill, covered with plastic wrap.

For Tapioca:

1) Combine tapioca with water in a medium saucepan. Let sit for 30 minutes off the heat.
2) Add coconut milk, milk, 1/4 cup sugar, salt, and egg yolks. Stir over low heat until mixture is simmering. Simmer, uncovered, stirring regularly, 10-15 minutes until pudding is thick.
3) Using a stand mixer or a whisk, beat the egg whites from the eggs with the sugar until they form soft peaks. Fold about a cup of the tapioca mixture into the egg whites, being careful not to over-stir the mixture. Then fold the egg white mixture back into the tapioca. Return to low heat and stir regularly for 3-4 minutes while mixture thickens.
4) When pudding is really thick, remove from heat and stir in shredded coconut and vanilla.
Layer puddings in jars, starting with chocolate and store in the fridge. Optionally garnish with shaved chocolate

shared at
awesome life friday

Sesame Green Bean

I love shopping the farmer market for vegetables for my home. We often eat them raw or in a simple dish to let the vegetable shine through. I have shared with you all how to store green beans but here is a recipe that you can use with the green beans whether quick frozen or that you purchase. Yes, if you were not aware you can eat green beans raw. There is another way that we love to prepare green beans. It is with an Asian flare in a recipe we call Sesame Green Beans. It is a Martha Stewart original recipe


Sesame Green Beans
from Martha Stewart

serves 4

1 lb. green beans, trimmed
2 t. rice vinegar
1/2 t. toasted sesame oil
Coarse salt and ground pepper
1 t. sesame seeds


1. Set a steamer basket in a large pot. Fill with enough water to come just below basket; bring to a boil. Add green beans to basket; reduce heat to a simmer. Cover, and cook until crisp-tender, 15 to 20 minutes.

2. Meanwhile, in a medium bowl, whisk together vinegar and oil; season with salt and pepper. Add green beans and sesame seeds; season with salt and pepper, and toss.

Tuesday, June 27, 2017

PTSD awareness


For the past 25 years I have enjoyed working as a nurses aide as I still do. My job is so much more than making sure those I take care of look good, smell good and are sociable. To me these individuals become friends that come from a different era. I love talking to, joking with and being among those that have differences.

Among the many that I have taken care of you will find those that have served our great country the United States of America. While they are proud they also have wounds that many may not know of and others may never see. I feel most sorry for those that served and came home from Viet Nam. It was not a welcome home that they received and for many of them this is among the bad memories that they hold.

If you are with me then show your teal. Teal is the color for Post traumatic Stress Disorder awareness. June is the month to draw awareness to PTSD and June 27th is PTSD awareness day


Post Traumatic Stress Disorder is an anxiety disorder that can happen to anyone after a traumatic event. While anyone can get PTSD it is often associated with the military and combat vets. While it is a major health focus many years ago it was not. Many have called this disorder "irritable heart" during the civil war, "shell shock" and "combat hysteria" after world war I , "combat exhaustion or fatigue" and "stress response syndrome" between World War II and Vietnam. In 1980 PTSD was finally classified as a mental disorder by American Psychiatric Association.

PTSD can affect the central and autonomic nervous systems and the brain. Their are 4 main symptoms of PTSD (1) reliving the traumatic event (2) avoiding people or situations that remind you of it (3) negative attitudes toward yourself and others (4) being easily startled and constant feelings of jitterness. Often depression , fatigue, anxiety and insomnia travels along with PTSD.

To be diagnosed with PTSD the symptoms must last more than a month, gain in occurrence, cause stress or interfere with daily functions.


BBQ Bacon Burgers with Picked Red Onions

BBQ Bacon Burgers
serves 2


2-4 slices bacon (depending on size)
2 whole grain hamburger buns
2 tablespoons barbecue sauce 
2 oz. sliced baby Swiss cheese
8 oz. ground beef (local, organic, grass-fed is the best if you can find/afford it)
Kosher salt and freshly ground black pepper
Pickled Red Onions


Pickled Red Onions
makes approximately 2 cups

1 1/2 cups white wine or cider vinegar
1 1/2 cups cold water
1 teaspoon sugar
1/2 teaspoon salt
1 large, dark red onion, sliced into 1/8-inch rounds
3 cups boiling water

In a medium bowl, combine the vinegar and cold water with the sugar and salt. Stir to dissolve the sugar and salt. Put the onion slices in a colander and pour the boiling water over them. Rinse under cool water and drain. Add the onion to the vinegar brine, cover with plastic wrap and refrigerate until chilled.

To make burgers: 
1. Preheat a pan over medium heat. Cook bacon to desired level of crispness, remove from pan, drain, and break each slice into two pieces.

2. Preheat a grill pan or gas grill over medium to medium-high heat or prepare a charcoal grill (my personal preference). Cook burgers to just shy of desired level of doneness. Placed sliced bacon and cheese on top of burgers and continue cooking until cheese is melted.

3. Meanwhile, spread 1 tablespoon barbecue sauce on the top half of each hamburger bun and top with pickled red onions. Add cooked burger to bottom half of bun, top with upper half, and serve.

Spicy Fried Potatoes


Potato - 3 no
Onion - 1 no
Curry Leaves
Chilly Powder - 1 tsp
Turmeric powder - 1/4 tsp
Coriander powder - 1/2 tsp
Cumin Powder - 1/4 tsp
Mustard - 1/2 tsp
Salt for taste
Oil - 3 tsp

Wash , peel and then cut the potatoes into medium size pieces.
Cut the onions lengthwise.
Add the chilly powder, turmeric powder, coriander powder, cumin powder, salt to the potatoes and mix well and keep aside for 15 min.
Heat oil, Add the mustard seeds in medium flame.
Add the curry leaves followed by the onions and saute until golden brown.
Add the potatoes and mix well. Allow the vegetable to cook in medium flame.
Scrape the bottom of the kadai once in a while so that it does not get burnt.
Once the potatoes are cooked slightly increase the flame and allow it get dried.

Rose Water and Orange Blossom Seminole Cake

In honor of Orange Blossom Day I thought I would share a few facts and a delicious recipe with you.


Naval oranges received their name as they resemble the belly button. The bigger the naval orange the sweeter 

A green orange that is also a Valencia orange may have absorbed its color from the chlorophyll making it re-green. It will still taste great

Oranges are high in antioxidants that neutralize the effects of free radicals. So oranges may have the power to slow down aging and other diseases.

Blood oranges is only called that as their pulp is bright red. 

Orange is the third favorite flavor in the world. The first two are vanilla and chocolate

Now onto a delicious recipe: 


1 and 1/2 cups water
1 and 3/4 cups granulated sugar
2 tablespoons rosewater (not rose extract)
1 tablespoon orange blossom water (not orange blossom extract)
2 teaspoons lemon juice
1 cardamom pod
To make the Semolina Cake:
1 and 1/2 cups semolina flour
1/2 cup granulated sugar
1 cup yogurt (Greek or otherwise)
3 tablespoons melted butter
1/2 cup canola oil
1/4 cup desiccated coconut
1 tablespoon baking powder
1 tablespoon tahini paste (to grease baking dish, cooking spray works too)
20 blanched almonds (see note)

In a medium saucepan on medium high, heat the sugar, water, rosewater, orange blossom water, lemon juice, and cardamom pod. Bring to a boil and let cook for 3 - 4 minutes. Remove from heat and let cool at room temperature.
To make the semolina cake:
In a medium bowl, mix together the semolina flour, baking powder, granulated sugar, yogurt, melted butter, canola oil, and desiccated coconut. Add 3 tablespoons of prepared syrup. Mix and let sit for 30 minutes.
Place a rack near the upper 1/3 of the oven and preheat the oven to 350 degrees F. Grease a baking dish with the tahini paste. Dump the prepared semolina cake mixture into the baking dish and press until even all over. Score the mixture to make 20 pieces. (4 lines x 5 lines). Place a blanched almond in the center of each piece. Cook the semolina cake for 20 minutes, turn on the broiler for 1 - 2 minutes just to get the top golden. Remove the cake from oven. Let cool.
When the cake is cooled, balance a piece on a fork and dip into the syrup for a few seconds. Test to see if more syrup is necessary. Re-dip if necessary. Serve with fresh fruit.


To blanch almonds: In a saucepan, boil 2 cups of water add almonds and let boil for 3 - 4 minutes or until the peels starts to slightly separate. Immediately rinse in cold water and when cool, remove peel.

recipe source here 

National Sunglasses Day


Have you ever wondered if you had the perfect sunglasses for yourself. The truth is that many times not a lot of thought is put into what pair of sunglasses is perfect. They look great, you like them, then you buy them and sport them for a summer and if lucky longer than that.


Lets take a look at a few different things that I find interesting:

Some say color matters. Do you know what the color of your sunglasses say about you:


Black sunglasses go well with more formal outfits. They also match with your black accessories. This could mean that they match your shoes, watch strap, wallet what ever black accessory you may have. Black sunglasses may not bee ideal color if you have more brown accessories. If you plan to own only one pair of sunglasses then you should seriously think about black.

Brown or Tortoise shell color sunglasses go well with casual outfits. This color will also go great with navy suit and brown accessories. Black sunglasses will go great with navy suit as well but it is not ideal.

There are lots of colors of sunglasses. They problem is that while they go great with casual outfits they are not great for formal attire. A well dressed man should not have and stand-out color in an outfit.

Next its time to figure out what shape of sunglasses is perfect for you:


There are a few easy steps that you can use to find your face shape.
Take a selfie of yourself with your hair back while looking straight ahead
Print the photo
On each of the widest / angled spots on your head
Connect the lines
What shape did the lines create


I  hope I have helped you just a bit in helping you find the perfect sunglasses for you


Dutch Oven Open Fire Camping Style Apple Crisp


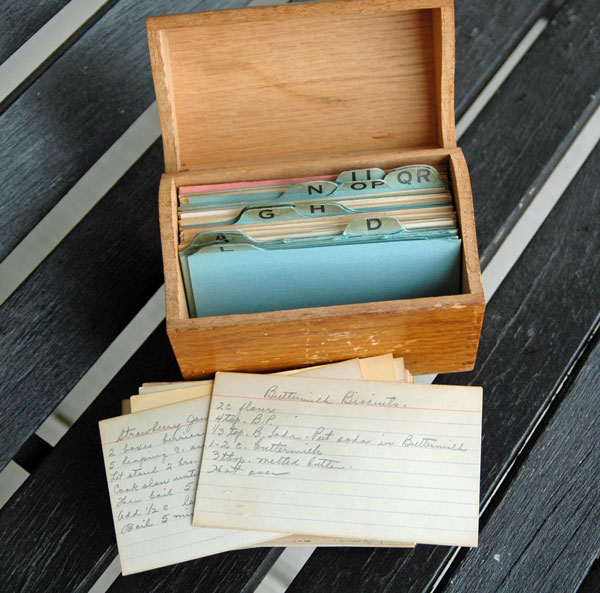
Both cooking and baking can be done over a camp dutch oven. An open fire method is bit trickier than grilling is though. Recipes are not as common and when you find one you want to hold onto it. The recipe I share today comes from an old pro at open fire cooking. You can find more great recipes and tips at Derek On Cast Iron

Dutch does not mean that this style of cooking came from Holland. The term dutch is a term that at one time referred to a "ghetto" When cooking in a dutch oven you want to be careful to have good heat on top and on bottom. If the bottom offers to much heat your dish may burn. If the bottom is lacking in heat however, simply add a few coals to the underneath side of the dutch oven.

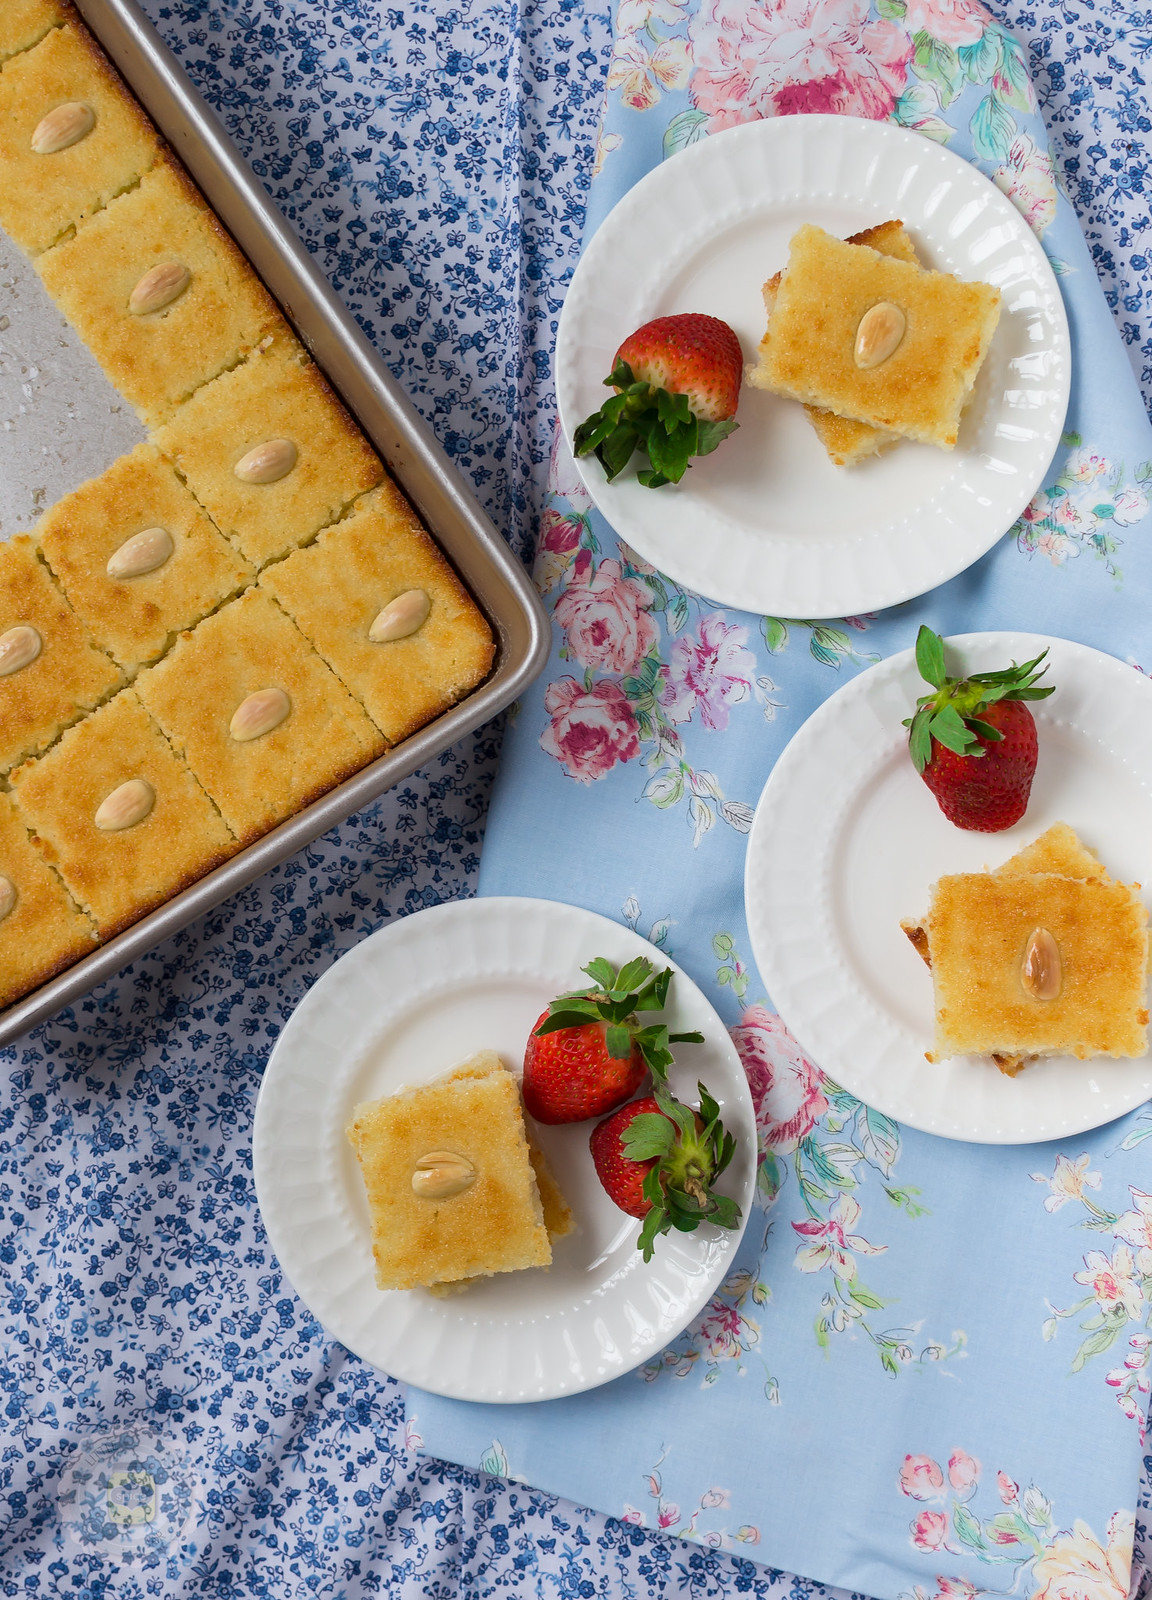
The recipe I am sharing today will offer a delicious apple desert and serve 8. It takes about an hour to make. You can follow the given recipe for a gluten free recipe or substitute wheat flour. If you choose to use an oven this recipe can be made at home in a 350degree oven. This recipe is perfect for honey crisp or granny smith apples.


8 apples, peeled and sliced
3/4 cup sugar
Juice from 1 lemon
1 1/2 sticks butter
1/2 cup GF flour
1/2 cup GF rolled oats
1/4 teaspoon salt
cinnamon


To prepare the crisp, begin by peeling your apples.  Once peeled, slice the apples roughly 1/4 inch thick—ending up with pieces no bigger than 1 1/2 inches in any dimension. Discard apple cores, seeds, stems, annoying little stickers, worms, etc.

Make sure your camp dutch oven starts shiny (coated with oil). Toss your sliced apples into it. Add 1/2 cup of sugar, the juice squeezed from a fresh lemon, and a dash or two of cinnamon.  Stir things around to combine, and then taste one of your apple slices. It should taste plenty sweet, nice and tart, and have a hint of cinnamon. Adjust ingredients as necessary to make these raw apples taste good.

Slice up 1/2 stick of butter (4 tablespoons) into manageable pats, and add these to the apples.  Stir around to combine/spread out the butter.

Separately, combine the flour, oats, the rest of the sugar (roughly 1/4 cup), another dash or two of cinnamon, and salt to taste (yes, I want you to pick up some of this dry flour/oat mixture and eat it). It should taste sweet, salty, and good. If you aren't tempted to keep nibbling on the flour/oat mixture, you probably need to add more sugar or more salt. Perhaps both.

Sprinkle your flour/oat mixture on top of your apples, and then add the remaining stick of butter (8 tablespoons) on top of the crisp. Once again, slice the butter into pats so you can spread them around evenly.

Clear a patch of fire, and move the fire far enough away as to provide at least 6 inches of clearance between the fire and the nearest side of the dutch oven. Place the dutch oven on the cleared spot, and then pile glowing coals on top of the lid about 3 inches high.

It's important to check in on your crisp frequently, especially in the beginning when the first data points about how hot your fire really is are trickling in.  To check your crisp, lift the lid off (coals and all), and place it on a clean surface (so you don't end up with dirt or ashes in your crisp after replacing the lid).  Visually inspect the crisp for any signs of burning, and try to get your nose down there to smell for any burning-apple-type odors. I usually also reach in there with a wooden spoon to dig to the bottom to make sure nothing's burning.  This will result in some of the top crisp layer mixing with the bottom apple layer... but a little mixing is far preferable to a burnt-to-a-crisp apple crisp.

When you're satisfied that nothing is burning (yet), rotate the base of the dutch oven by 90 degrees, and then place the lid back on top. When you place the lid back on top, rotate it by 90 degrees in relation to the base. The idea here is to even out the heat from top and bottom in relation to the food inside the dutch oven. Just make sure you rotate in the same direction... and don't worry too much about it as long as everything looks and smells fine inside.

Your crisp should bake for 45 minutes to an hour. Keep checking it every 5-10 minutes (depending on how quickly it seems to be cooking), and always be on the lookout for burning. It can happen quickly. Keep rotating base and lid every time you check, and replace lid coals as needed to keep the top heat strong.

After 35 minutes or so, grab an apple piece out and taste it. Keep doing this from here on out... and once your test apple pieces are coming out sufficiently soft, pull the crisp from the fire, remove lid coals, and serve after 5 minutes of cool-down. Crisps are pretty robust, so if you aren't yet ready for dessert, keep a few lid coals on top and set it next to the fire to stay warm. Rotate it every 5-10 minutes to provide even heat.


Crisps are ideal with ice cream (I know, but I really did see one of those crazy plastic-ball-camp-ice-cream-maker contraptions work a few months back). You can add liquid cream, too. Strangely, a mild cheese is also quite nice, and in this recipe we added a few dollops of goat cheese (chevre) on top. Divine.

Happy Birthday To One Brilliant Lady


Helen Keller Day honors the birth of Helen Keller, born June 27. Keller's birthday received awareness when observed by a presidential proclamation in the 1980's. Organizations helping the blind annually observe this special day. 


Helen Keller (June 27, 1880 - June 2, 1968) was an American author, political activist, and lecturer. The first deaf/blind individual to earn a bachelor of arts degree. Anne Sullivan, Helen's teacher, has a lot to do how Helen's life turned out. The play The Miracle Worker tells Helen's story and how Anne helped break through to the world that she lived in. 


Monday, June 26, 2017

Growing Roses


I can recall shortly before my dad passed to a better place he planted roses to remind my mom that he loved her. With them both getting on in age my dad got my son to help him plant these beautiful roses for my mom. That was nearly 20 years ago, this year me and my husband planted our first roses in our own yard. A work of love that we both shared. If you want to plant some roses of your own here are some tips to keep in mind:


While it has been said many times the truth is that Roses are not hard to grow. Old and new roses are often disease resistant and easy to care for. Roses come in a grand array of sizes, colors, and shapes. All of these possess their own beauty and work well with other plants.


When planting your roses try to find an area that offers full sun. Roses desire at least six hours of sun a day. If this is not possible then consider a hybrid rose that will tolerate more shade. Morning sun is most desired by roses as it can help dry dew off the plants leaves and this will also help lower risk of black spots.


A well drained soil is also a great need for roses. Compost , lots of it, worked in to the soil will help the rose growth. Roses do like consume water but do not like their bottoms to be wet

Many roses will bloom from May til frost. Feeding your plant will allow it to do this. Rose fertilizers can be purchased but if you can not find it look for any good quality fertilizer. Do not feed roses after the middle of August. Roses will be dormant in thee winter feeding will promote growth that is not wanted as fall approaches. You should water your plant after fertilizing.

Roses desire water. One to two inches of water is needed when hot. Try not to get thee leaves of the plant overly wet. Roses are susceptible to fungus and the leaves staying wet can lead to growth of fungus.

Prune away dead, diseased or damaged stems in early spring and whenever they occur. This allows the center of the bush to gain better air control. Roses should also be cut back to about 3 feet to prevent wind damage in the winter. Climbing roses should be securely attached to arbor. Mulch the plant well prior to winter.


Say NO To Drugs


June 26 is a day that offers a chance to fight back. To fight back against drug abuse and Illicit Trafficking. The United Nations International helps pull this day together for all those around the world. 


The goal is to create a world without drugs. The world community has been trying to stop drug abuse and to control drug trafficking for years. The problem is still very real and thousands of people continue to die due to drug abuse.
Drug abuse is a patterned use of a substance (drug) in which the user consumes the substance in amounts or with methods nithr approved nor advised by medical professionals. Problems with impulse control and impulsive behavior are closely related to drug abuse. Criminal or antisocial behavior may occur when an individual is under the influence of a drug. 


Chocolate Chip Pie

Chocolate Chip Pie


1 pie crust (I'm using the Pat-a-Pan pie crust below)
1 cup sugar
1/2 cup flour
2 large eggs
1/2 cup melted butter
1 1/2 cups semisweet chocolate chips
1 teaspoon vanilla extract

Preheat oven to 350 degrees.  Pat the dough into the 9 inch pie plate first at the sides then across the bottom.  Flute the edges if desired.

In a large bowl combine the sugar and flour.  Stir in eggs and butter until the batter is well-blended and smooth.  Add chocolate chips and vanilla.  Mix until well mixed.  Pour into pie plate.  Bake for 40-45 minutes.  Cool on wire rack until the pie is firm around 45 minutes.

Pat-a-pan Pie crust

1 1/2 cups flour
1 1/2 teaspoon sugar
1/2 teaspoon salt
1/2 cup vegetable oil
3 tablespoons cold milk

Place dry ingredients into 9 inch pie plate.  Mix well with a fork.  In separate bowl add wet ingredients and mix until creamy.  Pour over dry ingredients and mix with a fork until well incorporated.  Pat up the sides of the pie plate and then onto the bottom.

Sunday, June 25, 2017

Virginia's Bright Day


June 25th is an important date in Virginia's history. It was on June 25th 1788 that Virginia ratified thee U.S. constitution and was admitted as the 10th state of the Union. Previously located in the state of Virginia were several Indian tribes. The Powhatan, Monacan, Manahoac, Nahyssan, Occaneechi, Susquehanna, Cherokee and Nottaway were present when the first European explorers arrived. 
Sir Walter Raleigh was granted permission from England's Queen Elizabeth I to establish a colony in 1584. Several early expeditions to the New World would fail because they were not adequately prepared. King James I charted thee Virginia company to create a colony in Virginia. Virginia would be the first permanent english settlement in America and it would begin in Jamestown in May 1607. 

Log cabin Day


Log Cabins were the early homes for those who faced the hardship of the land. They were build to be strong and sturdy out of logs that were carefully notched together. In between the logs a caulking agent like mud or clay was used. Log cabins were built to stand the test of times. The roof was the part that needed to be changed occasionally.  Frontier days during the American migration west made log cabins most popular.


The log cabin society (yes there is such a thing) strives to make the Log Cabin Day popular. The Bad Ax Historical Society has been involved since the beginning as well. Yearly groups try to preserve historical log cabins so they can be maintained for the future and hold onto artifacts and memories that have helped make them important. The American colonists who supported the American Revolution known as the Whigs created log cabins to be humble and to go along with their simple life appearance.


Tall sturdy timbers could easily be used to create log cabins. The wood museum in Trondheim hosts several forms of log cabins. The northern Europe area built log cabins in a grand variety of styles. At times they were even built with flat walls to make siding or wall paper easier.


Catfish with Hush-puppies and Tartar Sauce


4 U.S. Farm-Raised Catfish Fillets
¾ cup yellow cornmeal
¼ cup all-purpose flour
2 teaspoons salt
1 teaspoon cayenne pepper
¼ teaspoon garlic powder
Vegetable oil for frying

COMBINE cornmeal, flour, salt, cayenne pepper and garlic powder.
COAT catfish with mixture, shaking off excess. Fill a large, heavy skillet half full with vegetable oil. Heat to 350° F.
ADD catfish in a single layer, and fry until golden brown, 5 to 6 minutes, depending on size.
REMOVE fish from oil and drain on paper towels.
SERVE with Hush-puppies and Tartar Sauce.

Hush-puppies

1½ cups self-rising cornmeal
½ cup self-rising flour
1 tablespoon sugar
1 teaspoon salt
¼ cup jalapeños, finely chopped (optional)
4 green onions, thinly sliced
1 cup buttermilk
1 large egg, beaten
½ cup sharp cheddar cheese, shredded

PREHEAT oil to 350° F. Combine cornmeal, flour, sugar and salt. Mix well. In a separate bowl, combine jalapeños, onions, buttermilk, egg and cheese. Add to dry ingredients, stirring until just moistened. Cover with plastic wrap and let rest for 15 minutes. Drop batter by
heaping teaspoons into heated oil and fry, turning hushpuppies to cook evenly, until golden brown.

Tartar Sauce

1 cup mayonnaise
2 teaspoons Dijon mustard
3 tablespoons sweet pickles, finely chopped
2 tablespoons capers, chopped
3 tablespoons green onions (use white bulb of onion), finely chopped; reserve green leaves for making hushpuppies)
2 teaspoons lemon juice
1 tablespoon fresh parsley, chopped
Salt and pepper to taste

COMBINE mayonnaise, mustard, pickles, capers, green onions, lemon juice and parsley. Mix well. Add salt and pepper. Chill before serving to allow the flavors to marry

Use Those Leftovers


One of my major household cost is feeding the family. It takes a lot of money to feed our family with several on special diets it is also at times to come up with a menu plan. It seems at times as junk food is cheaper than real food. If you are like me and would love to save some money here are a few of my tips that I use.


Cut down on waste.
The average American family throws away $1300 in food a year. That is not only a lot of money but a lot of food that we are throwing away. That does not mean that we should eat food that is old or expired it means that we should use up food before it goes bad or gets tossed out. Using our leftovers gives some people a definite nod of no others think they are great and can think of lots of ways to use them. The truth is using our leftovers offers us a chance to get creative in the kitchen and saves us money as well.

Leftovers were something often found on our family table. Our mother was not that creative and this often made my sisters and brothers and I eat with an attitude of "Not that again" But there are some great ways to dress up leftovers. A few of these include:

Fried Rice is great to make from leftover rice. You can use any veggie or meat or you can go meatless. Its a great meal you can prepare in minutes and best of all it uses up leftover rice. It does not matter what rice you use brown, white, quinoa etc...

Salad Rolls allow you to use up leftover meats, veggies, rice or pasta. Using leftovers are easy when you make up salad rolls.

Soups are a great way to use up leftovers. Chowder or beef stew are great to use up leftovers. You can make up your own soup using different veggies, meats, pasta or rice will allow you to be creative and use leftovers for your family and save money.

Rice is usually easy to make up meals using leftover rice. Rice with milk, dried fruit make an easy breakfast. Chicken and rice soup is great for leftover rice.You can easily freeze rice to use later as well.

Omelets and quiches are perfect for leftovers. Use a basic recipe and throw in whatever leftovers you may have. Eggs, cheese and veggies are perfect to use.

Cake Balls are perfect to use with leftover cake that has become dry, crumbly or just simply leftover. Using canned frosting to make up cake balls. You can use many different flavors to make these little goodies.

Freezing leftovers is great as well. Bananas, ginger, pureed pumpkin, applesauce and citrus can be frozen and used later. Most veggies can be frozen to use in soups, stews, chillis at a later date. Cookies and muffins freeze well as well.

Do Not Freeze: cream sauces, custards, high water content vegetables (like lettuce, cucumber, tomato), sour cream, mayonnaise, fried foods, anything with gelatin.


  • Chill the food completely in the refrigerator before freezing. This makes smaller ice crystals and less textural damage to the food.
  • For small items (like meatballs, cookie dough, or fruit pieces), freeze while spread out on a baking sheet, then transfer to a freezer bag once solid. This prevents the pieces from clumping.
  • Make sure there is room for air to flow in the freezer, which will help maintain proper temperatures.
  • Label and date your food. LABEL AND DATE YOUR FOOD.
  • Freeze in smaller portions when possible. This makes foods freeze faster and reduces the need to thaw more food than needed.
  • “Shop” your freezer on a regular basis to stay on top of your inventory.

What is your favorite way to use leftovers?

sharing this great tip at
Sundays at Home
dare 2 share

Strawberry Rhubarb Jam

Strawberry-Rhubarb Jam


.
4 cups cut rhubarb
1 cup crushed pineapple
1 cup sliced strawberries
3 1/2 cups sugar
.
Boil about 15 minutes or until rhubarb is tender. Set off stove. Smash with potatoe masher or blend in blender. Add 1 (3 oz) package strawberry jello. Seal in Jars.
.
(If you like your jam a little more tangy, use 5 cups rhubarb and omit the strawberries .)