2 1/2 cups all-purpose flour
1 tsp baking powder
1/2 tsp baking soda
1/2 tsp salt
3/4 tsp ground cinnamon
1/4 tsp ground nutmeg
1 cup peeled and shredded Granny Smith apple (from about 2 small)
1 Tbsp lemon juice
1/2 cup unsalted butter, softened
1 cup packed light-brown sugar
1 large egg
1 tsp vanilla extract
1/2 cup (scant - just remove 1 Tbsp) frozen apple juice concentrate, thawed but still cold
Frosting
1/2 cup packed light-brown sugar
1/4 cup butter
2 1/2 Tbsp apple juice concentrate
1/8 tsp salt
2 1/2 cups powdered sugar
1/2 cup finely chopped pecans
Maldon salt for sprinkling (optional)
Directions
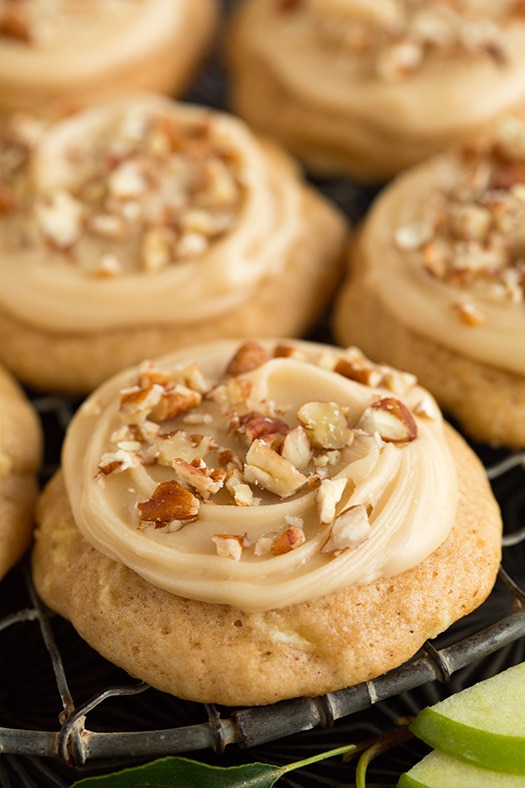
For the cookies:
Preheat oven to 350 degrees. In a mixing bowl whisk together flour, baking powder, baking soda, salt, cinnamon and nutmeg for 20 seconds, set aside. In a separate bowl, toss shredded apple with lemon juice, set aside.
In the bowl of an electric stand mixer fitted with the paddle attachment, blend together butter and brown sugar until creamy (if not using a paddle attachment that constantly scrapes bowl, then occasionally stop mixer throughout entire mixing process and scrape down sides and bottom of bowl). Mix in egg and vanilla extract. Mix in half of the flour mixture, then with mixer running on low speed, slowly add in apple juice concentrate, then mix in remaining half of the flour mixture. Fold in shredded apples (and the juices with apples). Scoop dough out with a medium 1 1/2-inch cookie scoop and drop onto Silpat or parchment paper lined baking sheets spacing cookies 2-inches apart. Bake in preheated oven 11 - 12 minutes. Cool on baking sheet several minutes then transfer to a wire rack to cool completely.
For the frosting:
In a small saucepan combine brown sugar, butter, apple juice concentrate and salt. Heat mixture over medium heat and cook, whisking constantly, until sugar has dissolved. Remove from heat and whisk in powdered sugar until smooth. Spread over cookies (I recommend a fairly thin layer as this frosting is very sweet), and immediately sprinkle with pecans and Maldon (if using. The frosting will set quickly so don't wait to add toppings). As frosting cools it will thicken, so add 1/2 tsp warm water at a time to thin as needed for a more spreadable consistency. Store cookies in an airtight container at room temperature.
Recipe Source: inspired midwest living